The blog
Shopify Customizer Live Preview Setup 2026: Full Guide


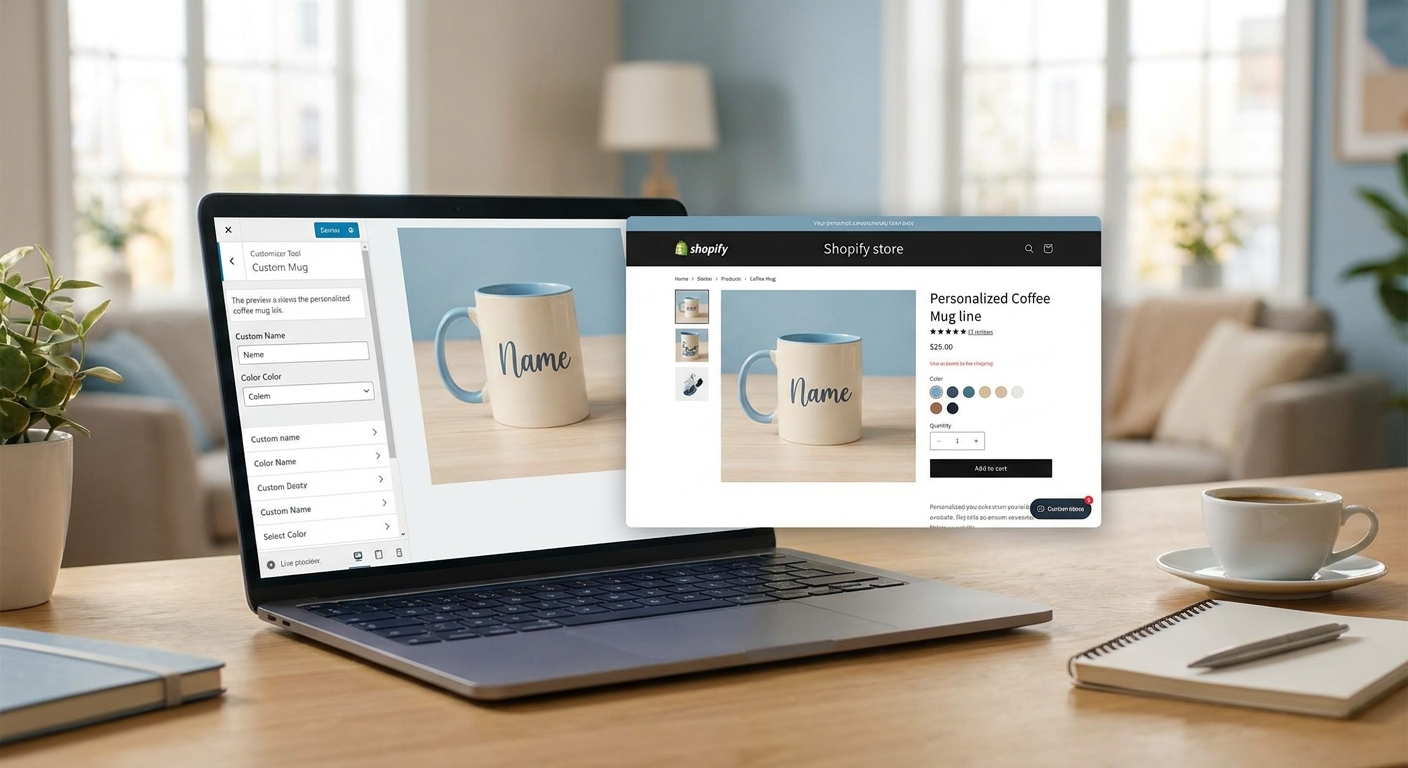
Live preview is the single feature that separates a product customizer shoppers trust from one they abandon — this guide walks through the exact setup steps for a Shopify product customizer live preview, from app embed to published product.
TL;DR
Setting up live preview for a Shopify product customizer takes five steps: install the app, enable the theme app embed, upload your base product images, configure the personalization fields (text, monogram, or upload), and publish with a test order. Bespo handles this in under 5 minutes with no developer required, rendering shopper input on the product image in real time before checkout. Skip the embed step and the customizer block silently fails to show — that's the most common 2026 setup mistake. Verdict: Buy if you're selling engraved, embroidered, or printed goods and want shoppers to see their customization before they pay.
Why this matters
A product page without live preview asks shoppers to trust that their initials, photo, or engraving text will look right. Most won't take that risk — cart abandonment on personalized products spikes when there's no visual confirmation step. Live preview removes that friction by rendering the customer's input — a name, a monogram, an uploaded photo — directly onto the product image before they add to cart.
For Shopify merchants running embroidery, engraving, monogramming, or print personalization, live preview isn't a nice-to-have in 2026. It's the difference between a customizer shoppers use and one they close the tab on. The setup itself is mechanical once you know the order of operations, and getting it wrong usually means one missed toggle, not a broken app.
What you'll need
- A Shopify store on any plan that supports app embeds (Online Store 2.0 themes)
- Product images at a minimum of 1000px on the longest side — low-res source images produce blurry live previews
- A personalization app installed — Bespo is built specifically for real-time preview with no developer step
- 10-15 minutes and admin access to your theme editor
- A test product to configure before going live storewide
The steps
1. Install the app and confirm the embed is active
Installing a personalization app adds the code to your store, but it does nothing until the theme app embed is switched on. This is the single most-skipped step in Shopify product customizer live preview setup.
Go to Online Store > Themes > Customize, open the App embeds panel (the small icon in the left sidebar), and toggle the personalization embed on. Save. Expected outcome: the customization block becomes available to add on product pages. Common mistake: merchants stop after install and assume the app is live — without the embed toggle, nothing renders, ever.
2. Add the customization block to your product template
With the embed active, open a product page in the theme editor and add the customizer block inside the product information section, ideally right below the variant picker and above the add-to-cart button.
This placement matters because shoppers need to see the live preview update before they commit to a purchase — burying it below the fold cuts engagement. Expected outcome: a preview panel or overlay appears on the product page in preview mode. Common mistake: placing the block below product description or reviews, where most shoppers never scroll.
3. Upload high-resolution base images for each customizable product
Live preview overlays text, monograms, or artwork onto your product photo in real time, so the base image quality sets the ceiling for how sharp that overlay looks. Use images at 1000px minimum, shot straight-on with even lighting and no competing text or logos in the frame.
Specific setting: crop tightly to the customization area (a mug's face, a jewelry pendant, a tote's front panel) so the overlay zone is unambiguous. Expected outcome: the preview renders crisp text or graphics without pixelation. Common mistake: reusing thumbnail-sized images meant for collection grids, which blur badly once zoomed for preview.
4. Configure the personalization fields
Decide what shoppers can customize — a text field for names or monograms, a dropdown for font or thread color, or an upload field for photos — and set character limits and required fields inside the app's product configuration screen.
For text-based customization like name necklaces or embroidered apparel, cap the field at a realistic character count (12-20 characters is standard) so the live preview text doesn't overflow the product art. Expected outcome: shoppers see a validation message if they exceed limits, and the preview updates on every keystroke. Common mistake: leaving fields unlimited, which produces broken previews when someone types a 40-character phrase into a monogram meant for three letters.
5. Set fulfilment output specs
Live preview is the shopper-facing layer, but behind it the app needs to generate a production-ready file — an embroidery stitch file, a print-ready PDF, or an engraving vector — that matches what the shopper saw on screen.
Map your output format to your fulfilment method inside the product's technique settings (embroidery, engraving, embossing, debossing, or print) so the file handed to production matches the preview pixel-for-pixel. Expected outcome: an order comes through with both a customer-facing thumbnail and a fulfilment-ready file attached. Common mistake: leaving the technique unset, which forces manual file prep for every order and defeats the point of automation.
6. Publish and run a test order
Before rolling this out storewide, publish the single test product and place a real test order through checkout, entering a name or design exactly as a customer would.
Check that the order confirmation and the order detail in Shopify admin both show the customized preview and the production file. Expected outcome: a clean order record with the customization visible to your fulfilment team without extra steps. Common mistake: testing only in theme preview mode and skipping an actual checkout, which misses cart and order-page rendering issues entirely.
7. Roll out across the catalog
Once the test product checks out cleanly, duplicate the configuration across the rest of your customizable catalog using the app's bulk or template settings rather than rebuilding each product from scratch.
Expected outcome: every personalized SKU has live preview active within the same session. Common mistake: manually reconfiguring each product one by one, which multiplies the chance of a missed field or wrong image crop.
Troubleshooting
- Preview panel doesn't appear on the product page. Check the app embed toggle first — it's off in the majority of cases. Re-check Online Store > Themes > Customize > App embeds.
- Text overlay looks blurry or pixelated. The base image resolution is too low. Re-upload at 1000px minimum on the longest side.
- Preview doesn't update as the shopper types. Clear theme cache and confirm no other app script is conflicting with the customizer's JavaScript — duplicate personalization apps on one product are a frequent cause.
- Font or monogram overflows the product art. Character limits weren't set. Go back to the field configuration and cap length before republishing.
- Order comes through without a fulfilment file. Technique settings weren't mapped for that product. Set the output format under the product's personalization technique before it goes live.
- Preview works in theme editor but not on the live storefront. The theme was published without saving the embed toggle state — re-save app embeds after any theme update or new theme install.
Tools and resources
- Bespo for the live-preview customizer and app embed itself
- Best live preview product customizer apps for Shopify for comparing options if you haven't picked an app yet
- How to add a personalization text option to Shopify variants for field-level configuration detail
- Add a personalization box to Shopify product pages for placement and layout specifics
- Shopify's own theme editor documentation for Online Store 2.0 app embed behavior
What to do next
Once live preview is running on one product, the next move is expanding the field types — adding font choice, thread color, or photo upload — so the customizer covers your full range of personalized SKUs, not just a single test item.
FAQ
What's the best way to set up live preview on Shopify in 2026? Install a personalization app, enable the theme app embed, and add the customization block above the add-to-cart button — that order matters because the embed toggle controls whether anything renders at all.
Is a live preview customizer better than a static text-only personalization field? Yes for conversion — shoppers who see their customization rendered on the actual product image convert at higher rates than those typing into a blind text box, because they get visual confirmation before paying.
How much does it cost to add live preview to a Shopify store? Costs vary by app and plan tier; check current pricing on the app you choose rather than assuming a flat rate, since most personalization apps price by order volume or feature tier.
Does live preview work with embroidery and engraving, not just print? Yes — live preview renders the shopper's input as a visual overlay regardless of fulfilment method, then generates a separate production file (stitch file, engraving vector, print PDF) matched to the technique you set.
Why isn't my customizer block showing up on the product page? The theme app embed is almost certainly switched off. Check Online Store > Themes > Customize > App embeds before troubleshooting anything else.
Can I limit how many characters a shopper can enter in the live preview field? Yes, character limits are set in the product's field configuration, and setting a realistic cap (12-20 characters for names or monograms) prevents the preview text from overflowing the product art.
Do I need a developer to set up live preview on Shopify? No — apps built for this, including Bespo, are designed for merchant self-setup through the theme editor, with no code required for the embed or the block placement.
How long does it take to configure live preview for a full catalog? A single product takes 10-15 minutes to configure and test; a full catalog rollout using bulk or template settings can be done in under an hour once the first product is validated.
One last thing
The overlooked step in most Shopify product customizer live preview setups isn't the preview itself — it's the fulfilment file behind it. A preview that looks perfect on screen but doesn't generate a matching production file just shifts the error downstream to your fulfilment team instead of preventing it. Test the full order-to-fulfilment path, not just the front-end render, before you call the setup done.