The blog
Shopify Multi-Step Personalization Form: Setup Guide 2026


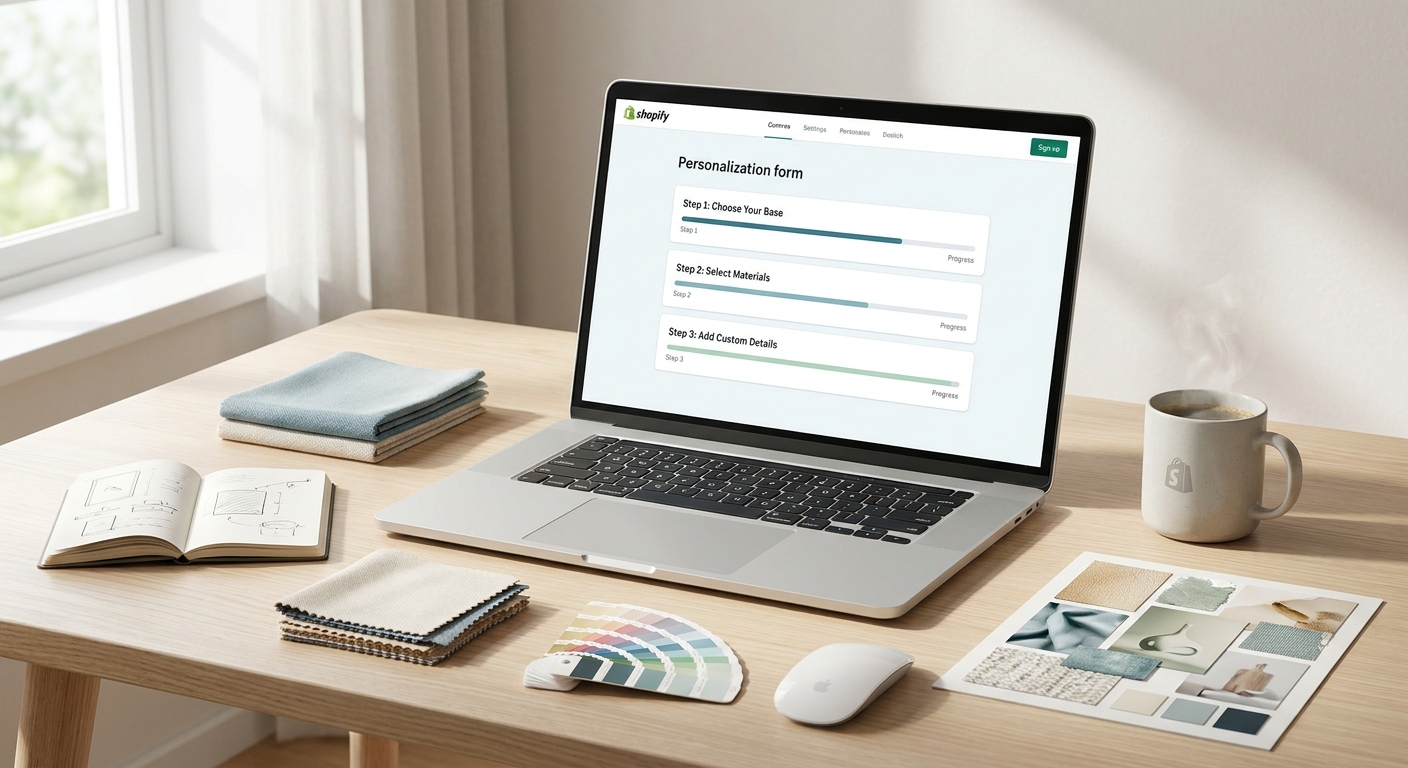
A multi-step personalization form breaks a long list of custom options into a guided sequence — pick a style, then a size, then add text, then preview — instead of dumping everything on one crowded product page. Shopify stores selling engraved, monogrammed, or made-to-order goods use this pattern to cut abandoned customizations and reduce production errors.
TL;DR
A shopify multi-step personalization form works best when you group choices into 3-5 logical stages, gate each stage behind validation, and end with a live preview before add-to-cart. Bespo handles this natively with a drag-and-build customizer that outputs production-ready files, so you skip custom Liquid development. Verdict: Buy the app route over custom code unless you have in-house developers and months to spare — most merchants get a working multi-step flow live in under a week in 2026.
Why this matters
Single-page personalization forms with eight or more fields have a real cost: shoppers stall, pick the wrong variant combination, or submit unreadable text for engraving. Splitting the same fields into steps — material, then size, then personalization text, then preview — keeps cognitive load low and gives you a checkpoint to validate each choice before the customer moves on.
This matters more in 2026 than it did a few years back because personalization volume on Shopify has grown across jewelry, apparel, drinkware, and gifting categories, and production teams increasingly rely on the data structure of the form itself to route orders correctly. A form that outputs clean, step-validated data is also a form that produces fewer fulfillment errors downstream. Bespo is built around that exact outcome — capturing personalization data in a structured, production-ready format rather than a free-text mess.
What you'll need
- A Shopify product (or several) with variants already set up for size, color, or material
- Theme editor access (Online Store > Themes > Customize)
- A personalization app that supports multi-field, multi-step configuration — building this from scratch in Liquid and JavaScript typically takes a developer 3-6 weeks
- A clear list of the personalization options you want to offer per product (text, image upload, monogram, engraving placement, etc.)
- 30-60 minutes for initial setup, plus time for testing across mobile and desktop
The steps
1. Map the customer's decision order
Write down every choice a customer makes before checkout, then order them by dependency. Size usually comes before personalization text because font size and character limits change based on the product's dimensions. Getting this order wrong is the single most common reason multi-step forms feel clunky — customers backtrack when a later step invalidates an earlier one.
Common mistake: putting the text/image personalization step before the variant selection step, which forces customers to redo their engraving text after realizing the small size only fits 12 characters.
2. Group options into 3-5 stages
Combine related fields into a single step rather than giving every field its own screen. A jewelry product might use: Step 1 (metal and size), Step 2 (engraving text and font), Step 3 (gift box add-on), Step 4 (live preview and confirm). Four steps is the sweet spot for most personalized products in 2026 — fewer feels rushed, more feels like a form nobody wants to finish.
3. Install and configure the personalization app
Add the app embed through your theme editor and attach the customization block to your product template. In Bespo, this means choosing your technique — embroidery, engraving, monogram, print, or embossing — per product, then building the option set that populates each step. This step replaces weeks of custom Liquid work with a guided builder, which is why most stores are live within days rather than months.
4. Add conditional logic between steps
Set rules so Step 2's font options change based on the size chosen in Step 1, or Step 3's gift-box options only appear for orders over a certain value. Conditional logic is what separates a real multi-step form from a static, multi-page questionnaire — it's the difference between a form that reacts to the customer and one that just makes them click more.
5. Turn on live preview before the final step
Before the customer confirms, show a rendered preview of their exact configuration — the monogram in the chosen font, on the chosen product, in the chosen color. Live preview cuts return requests tied to "that's not what I expected" because the customer confirms visually, not just by reading a text summary. This live-preview setup guide walks through the configuration in more depth.
Common mistake: skipping preview and relying on a plain-text order note — production teams then have to guess intent, which is where engraving errors come from.
6. Set validation per step, not just at checkout
Character limits, required fields, and file-upload formats should be checked the moment the customer leaves a step, not silently caught at checkout. A 20-character limit on an engraving field that only flags at cart means the customer already thinks they're done. For text-based personalization specifically, this guide on adding a personalization text option to variants covers per-variant character and format rules.
7. Test the full flow and check the production file output
Run through the entire form on both mobile and desktop, then check what actually reaches your fulfillment queue. The output should be a clean, production-ready file or data package — not a jumble of line-item notes your team has to interpret by hand. If the file that lands in your queue in 2026 still needs manual cleanup, the form isn't finished yet.
Troubleshooting
- Customers abandon mid-form: usually means too many steps or a step with unclear instructions. Cut to 3-4 steps and add one-line guidance text at the top of each.
- Preview doesn't match final product: check that your preview asset (font, placement, color swatch) matches the actual production template pixel-for-pixel — mismatches here erode trust fast.
- Variant and personalization data don't sync: confirm the personalization block is tied to the specific variant, not the parent product, or size-dependent options will show incorrectly.
- Mobile users get stuck on step transitions: test tap targets and step-navigation buttons specifically on mobile screens under 400px wide — this is the most common blind spot in 2026 theme testing.
- Uploaded images fail silently: set explicit file-type and size-limit messaging in the upload step rather than a generic error.
- Orders arrive with incomplete personalization data: check that every step is marked required before checkout is enabled, not just the final confirmation step.
Tools and resources
- A personalization app with native multi-step and live-preview support (Bespo covers embroidery, engraving, monogram, print, and embossing in one customizer)
- A guide to adding a personalization box to product pages if you're starting from a single-field setup and want to expand it into steps
- Your theme editor for placing the app embed and customization block
- A test checkout account so you can walk through the full multi-step flow without triggering a real order
What to do next
Once your multi-step form is live on one product, roll it out to the rest of your personalized catalog using the same step structure so customers get a consistent experience across products. If you're still deciding which app fits your store's volume and technique mix, this roundup of personalization apps for 2026 compares options by feature set.
FAQ
What is a multi-step personalization form on Shopify? It's a product customization flow that splits personalization choices — variant, text, image, preview — into sequential screens instead of one long page, reducing errors and abandonment on complex custom products.
How many steps should a personalization form have? Most stores in 2026 land on 3-4 steps: variant selection, personalization input, optional add-ons, and a final live preview before add-to-cart.
Do I need a developer to build a multi-step form on Shopify? No — apps like Bespo let you build multi-step, conditional personalization flows through a visual builder, cutting what used to be weeks of custom development down to hours.
Is live preview necessary for a multi-step form? It's not strictly required, but stores that skip it see more post-purchase confusion and return requests because customers confirm text descriptions instead of a rendered image.
Can multi-step forms work with existing Shopify variants? Yes — the form should read from your existing variant structure (size, color, material) and layer personalization fields on top, rather than duplicating variant logic separately.
What happens to personalization data after checkout? A well-built form outputs a structured, production-ready file per order line, so fulfillment teams don't have to manually interpret free-text order notes.
Does a multi-step form slow down conversion? A cluttered single-page form slows conversion more than a clean multi-step one — the goal is fewer decisions per screen, not fewer decisions overall.
Can I use a multi-step form for image uploads as well as text personalization? Yes, image upload steps work the same way as text steps — gate the upload behind its own step with clear file-format guidance before the customer reaches preview.
One last thing
The stores that get the most out of multi-step forms in 2026 aren't the ones with the most options — they're the ones that cut a step. Going from five steps to four, by merging gift-box add-ons into the personalization step instead of giving it its own screen, is a change that consistently shows up in fewer abandoned carts than adding another confirmation screen ever does.