The blog
3D Product Preview for a Shopify Customizer (2026 Guide)


Adding a 3D product preview to a Shopify customizer means two different builds stitched together: a rotating 3D model of the base product, and a live preview layer that shows the customer's personalization (text, monogram, engraving) on top of it. Get the sequence wrong and you end up with a spinning product that ignores whatever the shopper just typed.
TL;DR
- Shopify's native 3D viewer handles the rotating model — upload a GLB file under 15MB via the Media tab.
- True 3d product preview shopify customizer setups need a live-preview layer on top, not just a 3D file.
- Bespo adds the real-time personalization overlay for text, monograms and engraving in 2026 — Buy for merchants adding customization, not just 3D spins.
- Test on mobile Safari first — WebGL rendering is where most 3D product pages break.
Why this matters
A static product photo tells a shopper what the item looks like. A 3D model lets them rotate it. Neither one answers the question a personalization buyer actually has: what will MY name look like on this?
Shopify's built-in 3D and AR support (the model3d media type) renders a rotating product. It does not know what text a customer typed into a monogram field, and it will not update in real time as they type. For any store selling engraved, embroidered, or printed personalization, the 3D model and the live customizer are two separate jobs that need to run in the same product template.
Merchants who skip this distinction usually ship a nice-looking 3D spin that has nothing to do with the actual order. Shoppers notice the disconnect and abandon before checkout.
What you'll need
- A GLB or USDZ 3D model file for each product variant (under 15MB per Shopify's media limits)
- Shopify admin access to the product's Media section and the theme editor
- A personalization app that supports real-time live preview — this is where live preview setup becomes the second half of the build
- 30-60 minutes for the initial setup, more if you're generating 3D models from scratch
- A test device with a mid-range phone — this is where 3D rendering usually fails first
The steps
1. Decide what "3D" actually needs to do
Before uploading anything, separate the two jobs: does the shopper need to rotate the physical product, or do they need to see their personalization update live? Most personalization stores only need the second one — a flat, high-resolution live preview that updates as text is typed is faster to load and easier to maintain than a full 3D render of an engraved surface.
If you sell furniture, footwear, or anything where shape and angle matter to the buying decision, keep the 3D model. If you sell mugs, jewelry, or apparel where the personalization itself is the decision driver, prioritize the live-preview layer over the 3D spin.
Common mistake: building a 3D model of the product and assuming customers will accept that as proof of their personalization. They won't — a spinning mug that doesn't show the engraved name looks incomplete, not premium.
2. Prep your 3D model files
Export your product model as a GLB file (Shopify's preferred format) with baked textures and under 15MB. USDZ works for Apple's AR Quick Look but GLB is what renders in the standard 3D viewer across browsers.
Keep polygon counts reasonable — a mug or bottle model rendering under 2MB loads in under a second on 4G in 2026; anything over 10MB will stall on mobile.
Expected outcome: a lightweight model file ready to attach to a product, viewable from any angle without a texture pop-in delay.
3. Upload the model to the product in Shopify admin
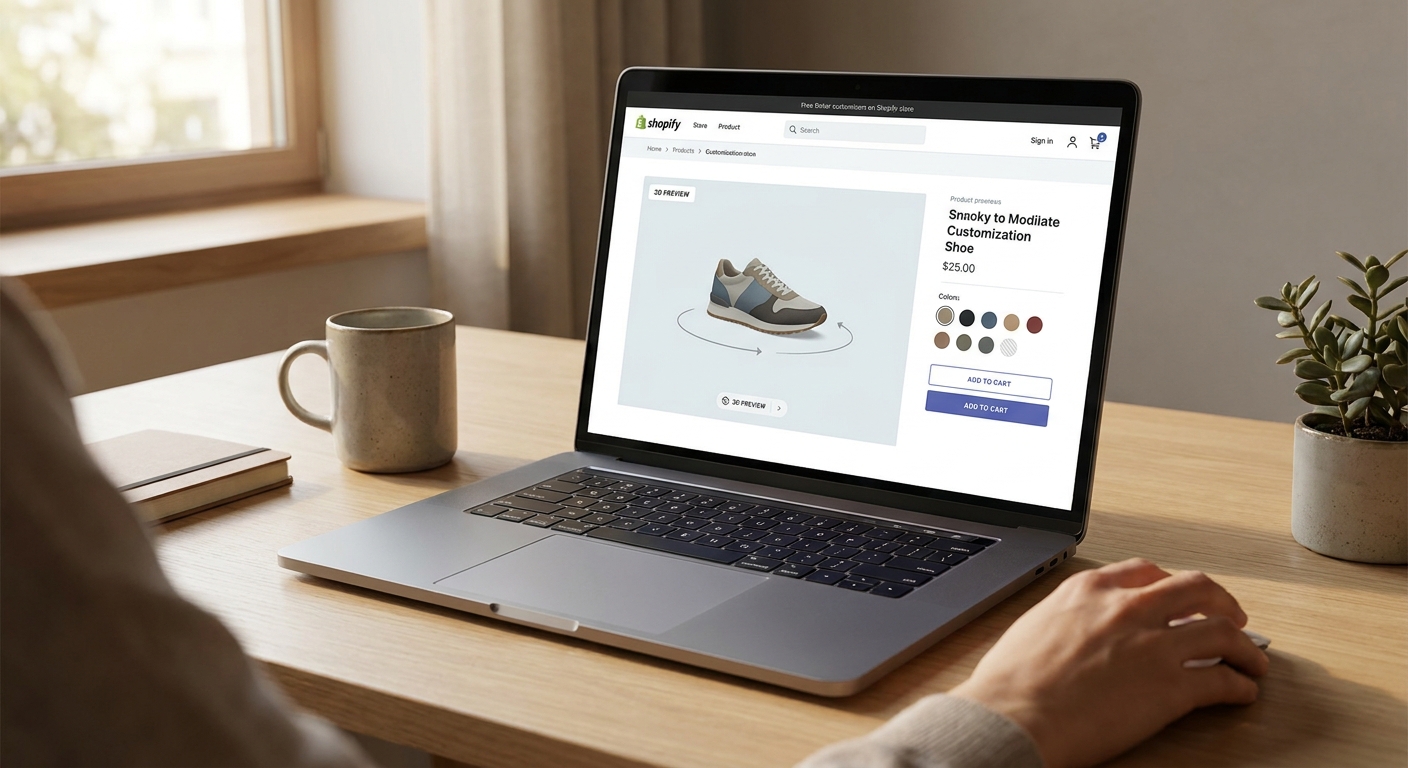
Go to the product page, scroll to Media, and upload the GLB file directly — Shopify auto-detects it as a 3D model and adds the rotate icon to the gallery. No app or code required for this part.
Set the model's default camera angle so the first frame shows the product's most sellable side, not a random rotation start point.
Common mistake: uploading the model but leaving the default thumbnail as a flat image, so shoppers never notice the 3D icon exists.
4. Enable the 3D viewer block in your theme
Open the theme editor and confirm the product template includes the media gallery block that supports 3D — most 2026 Shopify themes (Dawn and its forks) support this natively, but older or heavily customized themes sometimes strip it out.
Test the front end: the model should load with a visible rotate cursor and a loading spinner while the file streams in.
Expected outcome: shoppers can drag to rotate the base product on the product page before they even open the customizer.
5. Layer the personalization live preview on top
This is the step most stores get wrong — they treat the 3D model as the finished customizer. Add your personalization app's live-preview block (Bespo's customization block installs through the app embed in the theme editor) so text, monograms, or engraving previews render on a flat mockup image positioned near or below the 3D viewer.
For engraved or embroidered goods, the live preview updates character-by-character as the shopper types, which is a different rendering job than the rotating 3D model and should not be forced into the same canvas. Keep them visually adjacent, not merged, unless you're running a custom 3D texture-mapping build.
Common mistake: trying to project live text onto the rotating 3D model itself. This requires custom WebGL texture-mapping work well beyond a standard app embed, and most stores don't need it — a synced flat preview next to the 3D spin sells just as well and loads faster.
6. Connect the preview to production-ready output
Whatever the live-preview layer shows the customer should match the file that goes to fulfillment. Confirm your personalization app exports production-ready files (not just a screenshot) so the engraving or print run matches what the shopper approved.
Run a test order end-to-end: place it, pull the generated production file, and check it against what the live preview displayed.
Expected outcome: zero gap between what the customer saw on-screen and what gets engraved or printed.
7. QA across devices before launch
Test the full page — 3D model plus live preview — on iOS Safari, Android Chrome, and desktop. WebGL rendering for 3D models is inconsistent across older Android devices, and a model that loads in 1 second on desktop can take 6+ seconds on a 3-year-old phone.
If load time on mobile exceeds 3 seconds, drop the model file size or fall back to a static image with the live-preview layer still active — most personalization buyers care more about the customization preview than the rotation.
Common mistake: only testing on the developer's own laptop, then launching to a mobile-majority audience without a real device check.
Troubleshooting
- 3D model won't load on mobile: file size is likely over 10MB — re-export with compressed textures and fewer polygons.
- Rotate icon missing from product gallery: the theme's media block was customized or replaced; check the theme editor's product template section for a stripped-down gallery block.
- Live preview lags behind typing: this is a personalization app performance issue, not a 3D issue — test with the customization block alone, no 3D model loaded, to isolate the cause.
- Personalization text looks misaligned on the flat preview: the mockup image and the text overlay coordinates are out of sync — recheck the placement settings in your product's customization configuration.
- 3D model shows correctly but colors look washed out: textures were baked under different lighting than your storefront's theme background — re-export with neutral lighting.
- Page loads slow overall: you're likely loading both a heavy 3D file and multiple live-preview assets on first paint — lazy-load the 3D model so it renders after the initial page content.
Tools and resources
- Shopify's native
model3dmedia type — free, built into every 2026 theme with an updated gallery block - A live-preview personalization layer — see how to set up live preview for a Shopify product customizer for the app-embed setup
- A comparison of live-preview product customizer apps for Shopify if you're still choosing which app handles the personalization layer
- Multi-step customization forms if your personalization flow needs more than one input field before the preview renders
- A 3D model export tool (Blender, or your product photography vendor's CAD pipeline) for generating the GLB file
What to do next
Once the 3D model and live preview are both live, the next build is usually scaling the setup across a full catalog rather than one hero product. If you're running high SKU counts or multiple personalization techniques across a catalog, the setup for personalization apps built for high-volume Shopify stores covers what changes when you go from one product to a hundred.
FAQ
Can Shopify show a 3D product preview natively?
Yes — Shopify supports GLB and USDZ 3D model uploads directly through the product Media tab, and most 2026 themes render them with a rotate gesture automatically. This covers the base product shape, not live personalization text.
Does a 3D model replace a personalization live preview?
No. A 3D model rotates the physical product; a live preview updates with the customer's typed text, monogram, or engraving in real time. Most personalization stores need both, positioned separately on the page.
How big should a 3D model file be for Shopify?
Keep GLB files under 15MB, Shopify's upload limit, and ideally under 5MB for fast mobile load in 2026. Files over 10MB commonly stall on older Android devices.
Is a 3d product preview shopify customizer worth building for a small catalog?
It's worth it for hero products where shape sells the item — furniture, footwear, bags. For flat personalized goods like mugs or jewelry, a live preview alone usually converts just as well without the added load time.
Can text be projected directly onto a rotating 3D model?
Technically yes, but it requires custom WebGL texture-mapping beyond a standard app embed. Most stores get comparable conversion from a flat live preview positioned next to the 3D viewer instead.
What file format does Shopify's 3D viewer require?
GLB is the primary format for the standard 3D viewer; USDZ is needed separately for Apple's AR Quick Look on iOS devices in 2026.
Will a 3D preview slow down my product page?
It can, especially on mobile — lazy-loading the model so it renders after the initial page paint keeps the page from feeling slow on first load.
Do personalization apps generate the 3D model, or just the live preview?
Personalization apps like Bespo generate the live-preview layer and production-ready files; the 3D model itself is a separate asset uploaded through Shopify's native Media tab.
One last thing
The stores that get the most mileage out of this setup don't chase a fully merged 3D-plus-live-text render — they ship the 3D model and the live preview as two clearly separate, fast-loading elements on the same page, and let the personalization preview do the conversion work while the 3D spin does the trust-building work. Trying to force both into one WebGL canvas in 2026 usually costs more in load time than it earns in polish.